E-Mag

Tuesday, September 30, 2008
~Chocolate Fantasy~
MY_Chocolate_Fantasy.jpg)
~Chocolate Fantasy~
This tutorial was written by me on 9-30-2008.
I used PSP X but any version should work fine.
Any resemblance to another tutorial is
unintentional, and strictly coincidental.
For this tutorial you will need the following:
Chocolate Heaven Scrap Kit by Incognito's Scrapz
This is a pay to use kit which can be purchased HERE
Any tube of choice. I am using the Dazzling artwork of
Mark Yanko which can be purchased HERE
One Mask of choice
And of Course as with any tag to make you need a font.
Once we have all of our supplies we are ready to begin.
1. Open new canvas 600 x 600 transparent.
2. Create new raster layer.
Go to selections, select all.
3. Open one of the Chocolate Heaven Papers, copy, then paste into selection.
4. Create new raster layer. Choose second paper, copy, and paste into selection.
5. Selections, Select none.
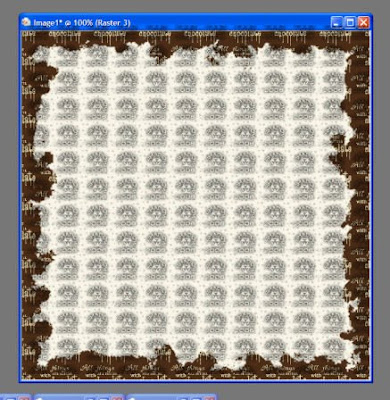
6. Now go to layers, load/save mask, load mask from disk.
Depending on the papers and mask you chose you may wish to invert mask data.
7. Go to Layers, Merge, Merge group.
You should have something similar to this by now.
8. Now add a drop shadow to your group layer.
I used H & W 3 blur 8 opacity 80
9. Let's now add our tube as a new layer.
Resize and position as desired.
Add same drop shadow as before.
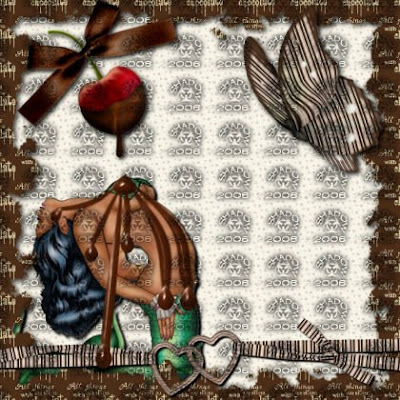
10. Now it's time to add a few elements.
I chose the Cherry because I wanted to add a more sensuous effect
to what I was working on. You may decide you want a more
romantic approach and use the glitter filled heart. Or something else entirely.
11. Add a ribbon, resize and position as desired.
We should now have something similar to this.
12. If you want an effect of chocolate running over, or smeared over your tube now
is the time to add it. I used a teardrop preset shape, and the warp mesh tool
in order to add chocolate streaks running over my tube.
13. Layers, merge, merge all.
14. Now we need to adjust our resolution to comply with
Most PTU tube TOU's. ( Especially if like me your using something from CILM )
Go to Image Resize Change Resolution to 72 Pixel/Inch
Resize to 70 %
15. Now add Artist information, your marks, and Name.
You're finished!!!!
Subscribe to:
Post Comments (Atom)
Grab My Blinkie

I CT For


My Fav Places


My Licenses


1 comments:
Thank you Shadow I love what you have done with this kit :)