Links of Interest
Followers
Blog Archive
Saturday, January 10, 2009
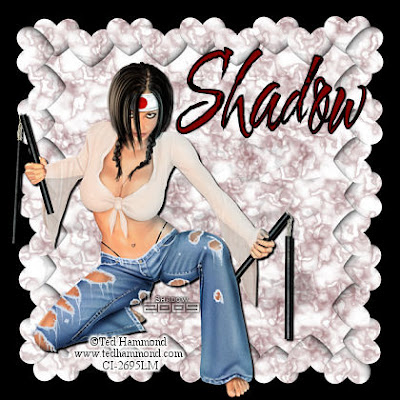
Valentine Fighter

Valentine Fighter
This tutorial was written by Shadow on 1-10-2009 intended
for those with a basic understanding of PSP.
Any Resemblance to another tutorial is purely
coincidental and unintentional.
This tutorial was written in PSP X, but should be able
to be completed in all versions.
To complete this tutorial you will need
1 paper of choice, more if you wish
I am using a paper from a set called
"Let's Get Grungy" created by Childress Imaging
which can be purchased HERE
1 Tube of choice.
I am using the wonderful art of
Ted Hammond which can be
purchased HERE
1 Mask The one I am using is WSL_Mask273
which you can find HERE
And of course a font of choice
Now that we have our supplies together let's get started.
1. Open new canvas 600 x 600 fill black ( or any color that suites you )
2. Copy and paste your paper as a new layer
3. Go to Layers, Load/Save Mask, and add your Mask Layer
4. Go to layers, Merge, Merge Group
5. Open your tube now copy and paste as a new layer.
Resize and position as desired
6. Add any accents you wish.
7. Go to layers, Merge, Merge all
8. Now resize by 70 % finished image will be 420 x 420
9. Add your name, artist information, and your watermark if you use one.
Save and your done!!
A short and simple tutorial to start the year.
Thank you for taking the time to attempt this simplistic
tutorial. I hope you enjoyed it.
Subscribe to:
Post Comments (Atom)


0 comments: