E-Mag

Friday, February 27, 2009
~Eirinn Go Party!~
Eirinn+go+Party.jpg)
~Eirinn go Party!!~
This tutorial was written by me on 2-26-2009 for
those with a basic knowledge of PSP.
Written in PSP X should be easily followed in all versions.
Any resemblance to another tutorial is
purely coincidental and unintentional.
To complete this tutorial you will need the following:
1 Tube of choice. I am using the artwork
of Kieth Garvey which can be purchased HERE
St. Patty's Party Scrap kit by Childress Imaging.
You can purchase the kit HERE
Now that we have our materials together let's begin!
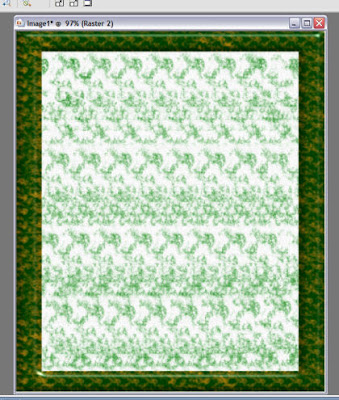
1. Open new canvas 600 width x 700 height
2. Go to selections select all.
3. Copy a paper of choice and paste into selection for your background.
4. Create new raster layer, then copy a frame of choice and paste into
selection. This will be your tag frame.
5. Go to selections, select none.
You should now have something like this:
This tutorial was written by me on 2-26-2009 for
those with a basic knowledge of PSP.
Written in PSP X should be easily followed in all versions.
Any resemblance to another tutorial is
purely coincidental and unintentional.
To complete this tutorial you will need the following:
1 Tube of choice. I am using the artwork
of Kieth Garvey which can be purchased HERE
St. Patty's Party Scrap kit by Childress Imaging.
You can purchase the kit HERE
Now that we have our materials together let's begin!
1. Open new canvas 600 width x 700 height
2. Go to selections select all.
3. Copy a paper of choice and paste into selection for your background.
4. Create new raster layer, then copy a frame of choice and paste into
selection. This will be your tag frame.
5. Go to selections, select none.
You should now have something like this:
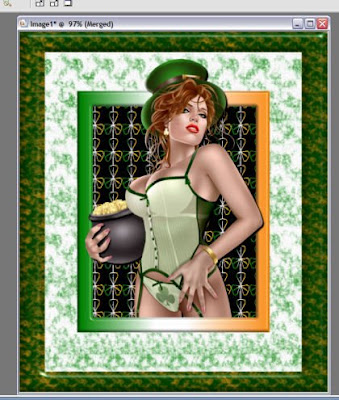
6. Find a frame of choice, now copy and paste as new layer.
7. Using your magic wand tool. feather 1, tolerance 10 click inside your frame.
8. Go to selections. modify, expand by 10
9. Using a second paper of choice create new raster layer, copy
your paper, and paste into selection. now move this layer beneath your frame.
10. Copy your tube and paste as new layer.
11. Position your tube as desired over your frame. Add a drop shadow
I used 3h x 3v, color black, opacity 100.
12. Duplicate your tube layer and move the duplicate under
your frame layer.
13. Back to your original tube layer. Using your eraser tool remove the
bottom edge of the tube so that it looks like the
tube is behind the frame. ( this should give the effect
of the tube stepping or leaning out of the frame)
14. Close out your original background and frame layers, then go to layers
merge, merge visible. Now make your background
and frame layers visible again.
You should have something like this now:
15. Select your tube and frame layer, go to image, resize,
resize by 80% and move toward the top until happy.
16. Add you decorations and elements of choice.
17. Go to layers, merge, merge all
18. Resize by 70 %
19. Add artist watermark, name, and your watermark if you use one.
You're done!!
Thank you for taking the time to complete this tutorial.
Please feel free to share the link with anyone else you think may enjoy it.
Subscribe to:
Post Comments (Atom)
Grab My Blinkie

I CT For


My Fav Places


My Licenses


0 comments: