Links of Interest
Followers
Blog Archive
Monday, October 20, 2008
~Window to Paradise~
This tutorial was written by me on 10-20-2008.
It is meant to be an easy tag for any experience
level including beginners. Any resemblance to another
tutorial is strictly coincidental and unintentional.
To complete this tut you will need the following:
Leafy Overlays pack from I Got Lucky Skraps which
can be purchased HERE or HERE
Autmumn Harvest Scrap kit, and Neon Halloween Scrap kit
from Scraps by Storm these can be purchased HERE or HERE
A stock photo of choice. I suggest using a nice beach scenery.
Everything comes with any version of PSP.
Now that we have gathered our supplies... Let's get started!!
1. Open new canvas 600 x 600 fill white
2. Go to Effects, Texture Effects, Texture
now choice whichever texture you prefer
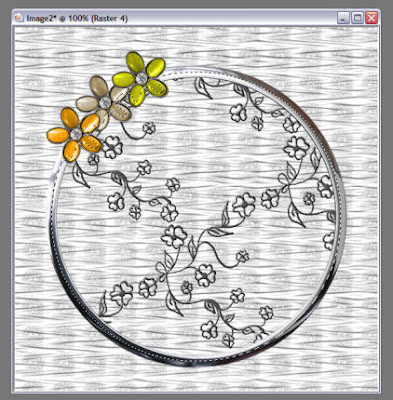
3. Open sbs_autumnharvestmetalframe1
Copy and paste as new layer
4. Using your magic wand tool click inside of your frame.
5. Go to selections, Modify, Expand by 10
6. Add new raster layer
7. Open your iglskraps_leafyflower_overlay at this time
Copy and paste into selection
8. Now move your overlay layer beneath your frame.
You can play with effect if you like. I added an inner bevel
you should now have something that looks like this:

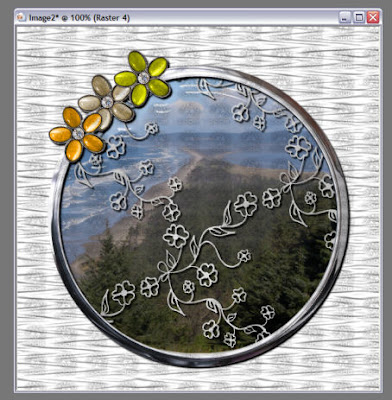
9. Now open your chosen scenery
Copy and paste as new layer
10. Move your scenic layer beneath your overlay layer
11. Go to selections, Invert, now press delete.
Look you now have a picture window!!

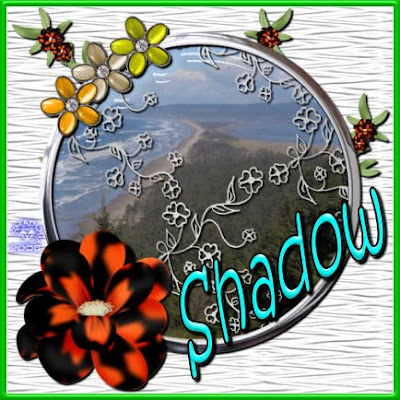
12. Now it's time to add some elements ( or decorations if you prefer)
The flowers I am using were custom made using colors or my choice
However if you would like to use a similar flower
you can find it in the Neon Halloween Kit by Scraps by Storm
Don't forget word art over your window if you so choose.
13. Once you have decorated to your liking go to layers, merge, merge all.
14. Go to Image, add borders, border with 10 symetrical, choose a color
that compliments your tag. I am using green.
15. Now using your magic wand click on your border. Tolerance 10 feather 0
16. Go to effects, 3 D effects, Inner Bevel. Use a bevel of your choice
to give your frame a glass or metal look / feel to it.
17. Resize and add watermark and name and your done!
I hope you enjoyed this tutorial and thank you again for giving it a try.
Below is a second version of mine without the word art.

Subscribe to:
Post Comments (Atom)

Window_To_Paradise1.jpg)


0 comments: