Links of Interest
Followers
Blog Archive
Thursday, December 8, 2011
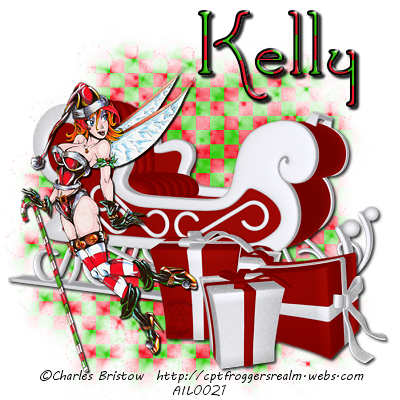
Checkered Christmas

This tutorial was written by me for those
who have a basic knowledge of PSP. Any similarities
to another tutorial are purely accidental and coincidental.
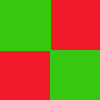
To begin you will need my checkered pattern
right click and save from below:
who have a basic knowledge of PSP. Any similarities
to another tutorial are purely accidental and coincidental.
To begin you will need my checkered pattern
right click and save from below:

A tube of Choice I am using the wonderful work
of Charles Bristow which does require a license for use, and
may be purchased HERE.
FTU Scrap Kit called Freebie_Xmas Candy Cane
by Lacarolita's Designs can be found HERE
Mask by Melissaz Creationz found HERE
I'm using MC_Mask2
and of course a font of choice I'm using Santas Sleigh
No real plug ins used, just drop shadow a few times
Now that we have gathered our supplies and material
we are ready to begin:
1. Open your tube, and my check pattern in PSP
2. Create a new Canvas 700 x 700 transparent
3. create new raster layer and flood fill with pattern using
the checkered pattern provided.
4. (this step varies depending on if you saved the
masks to you PSP folder or not) If you did then go to
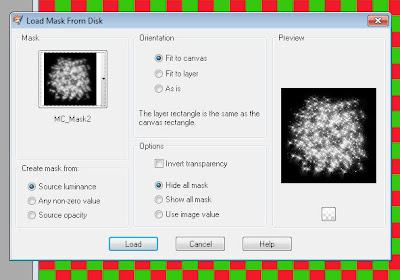
Layers, Load/Save Mask, Load Mask from Disk, and select
MC_Mask2 settings are:

If you did not save the mask to your PSP folder then please
open mask MC_Mask2 in PSP go to Layers, New Mask Layer, From Image
and select you MC_Mask2 image
5. Open Candy Cane Sleigh from the scrap kit, resize as you see fit
and paste as new layer on your image. Add a drop shadow of choice
I used V3, H3, Opacity 85, Blur 7, Color Black
6. Copy and paste any filler elements of choice from the scrap kit
I chose the Candy Cane Presents, add the same drop shadow as before
7. Now add your tube. Resize and position as needed
add a drop shadow, I used V3, H3, Opacity 80, Blur 3, Color Black
8. Close out visibility on you background layer, go to
layers, merge, merge visible
9. Now go to Image, Resize, make sure that "all layers" is
checked, and resize your image to 400 x 400
10. Here you can choose to delete your background layer, or
merge all flatten which will change your background to white.
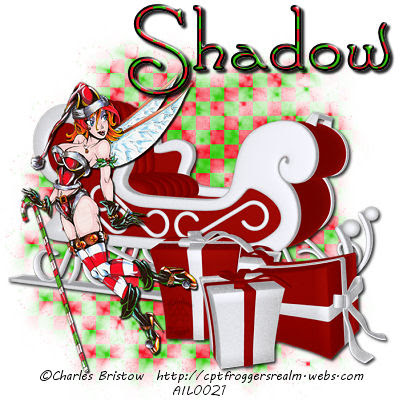
11. Add artist copyright information and Name and your finished!
Thank you for taking the time to attempt this tutorial. I hope you enjoyed
it and are happy with your creation.

Subscribe to:
Post Comments (Atom)
0 comments: